Bought a set of cameras, mounted them where they “looked right,” and still ended up with a blurry, useless angle the one time something actually happened? That’s more common than you’d think. Good security camera placement isn’t about buying expensive hardware — it’s about understanding how intruders actually move through a property, and most people get this part wrong on the first try. I’ve walked into homes where four cameras were installed and somehow the front gate, the most obvious entry point, wasn’t covered by a single one of them. This guide fixes that kind of oversight, with actual reasoning behind every spot, not just a generic checklist.
Why Camera Placement Matters More Than Camera Quality
Quick answer: A cheap camera in the right spot outperforms an expensive one in the wrong spot. Effective security camera placement focuses on entry points, blind spots, and choke points — areas an intruder must pass through — rather than covering open, low-risk spaces.
Here’s something I’ve noticed after installing dozens of these systems: people obsess over resolution and night vision specs, then mount the camera somewhere that barely captures a usable angle. A 4K camera pointed at the wrong corner of your compound wall is still useless footage.
The goal isn’t to cover every square inch of your property — that’s expensive and usually unnecessary. It’s to cover the paths someone would actually take to get in: gates, doors, ground-floor windows, and any spot with poor natural visibility from the street.
Covering Entry Points First
Doors and gates are where security camera placement should always start. This sounds obvious, but you’d be surprised how often it’s skipped in favor of “scenic” angles that look good but capture nothing useful.
Priority entry points, in order:
- Main gate or compound entrance — the first thing anyone approaching your property passes through
- Front door — the most common point of both legitimate and illegitimate access
- Back door or service entrance — often overlooked, and often the weaker point security-wise
- Ground-floor windows, especially ones hidden from street view by walls or plants
- Garage or parking area entry, if vehicles or tools are stored there
Picture a small business owner in Jaipur who runs a general store with storage in the back. He’d installed two cameras covering the shop counter beautifully, but the back storage door — where an actual break-in happened six months later — had zero coverage. A ₹3,000 camera at that door would’ve made all the difference. Lesson learned the expensive way.
Ideal Height and Angle for Maximum Coverage
Mounting height affects both coverage and image usability more than most people realize.
Quick answer: Mount security cameras 9-10 feet high for a balance of wide coverage and clear facial detail, angled slightly downward at 15-30 degrees. Higher placements reduce tampering risk but can lose facial clarity if angled too steeply.
A few specifics worth knowing:
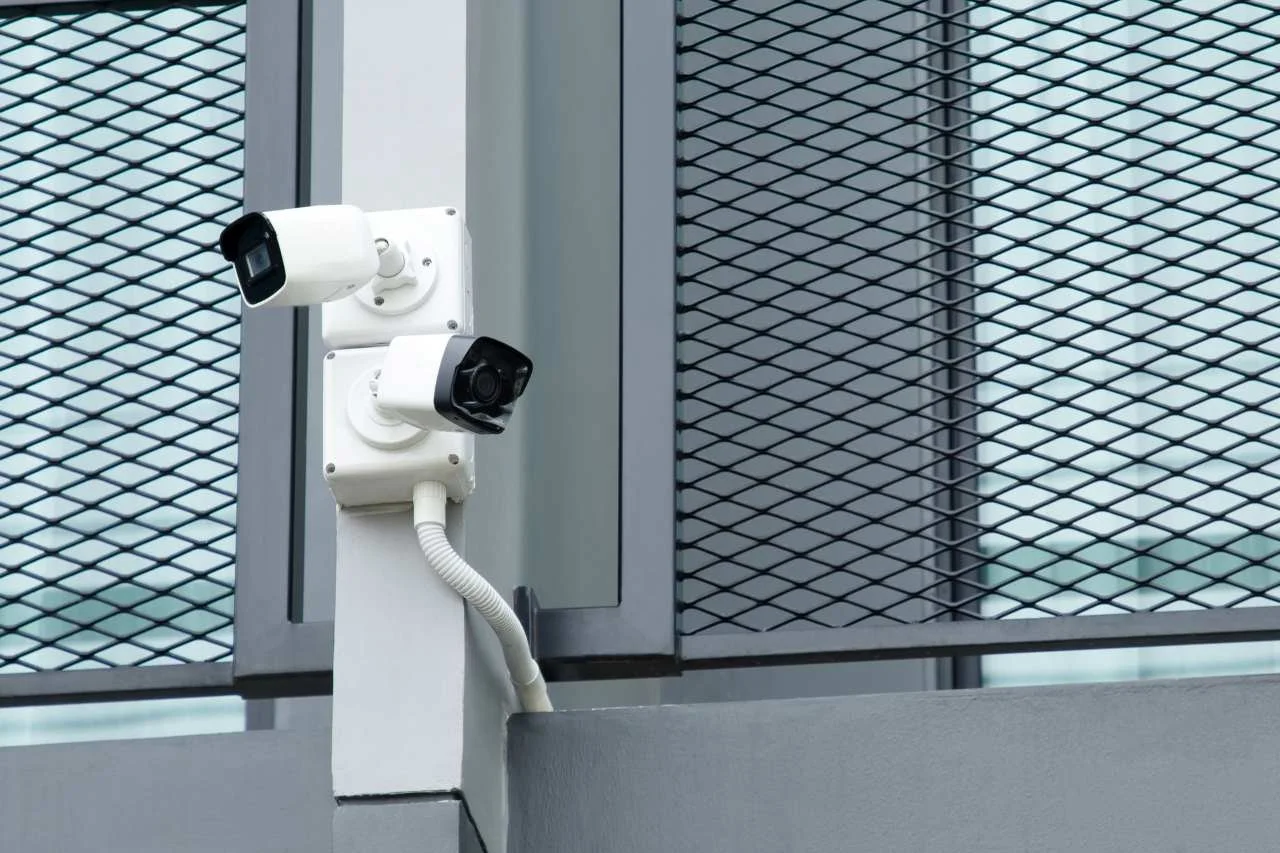
- 8-10 feet is the general sweet spot for entry-point cameras — high enough to avoid easy tampering, low enough to still capture usable facial detail
- 12+ feet works for wide-area coverage (driveways, compound walls) but expect less detail on faces
- A 15-30 degree downward tilt usually gives the best balance between area coverage and clarity
- Avoid mounting directly above a door pointing straight down — you’ll capture the top of someone’s head, which is nearly useless for identification
I’d disagree with the common advice to mount everything as high as possible “for safety.” Sure, it protects the camera from tampering, but if you can’t make out a face in the footage, what’s the actual point? There’s a trade-off here, and clarity should usually win for entry points specifically.
Related guidance: Smart Locks vs Traditional Locks: Which Is Safer?
Handling Blind Spots Around the Property
Every property has natural blind spots — corners, side alleys, spaces behind parked vehicles or hedges. These are exactly where someone looking to break in would linger, precisely because they’re not visible.
Walk your property at ground level and genuinely look for spots where you can stand without being seen from any window or camera angle. Has this ever occurred to you before installing cameras? Most people skip this step entirely and regret it later.
Common blind spot locations:
- Side passages between your house and the boundary wall
- Areas behind large plants, water tanks, or AC units
- The space directly beneath a camera (a known dead zone for most fixed-angle models)
- Corners where two walls meet, especially on larger compounds
A second camera angled to cover the blind spot of the first one usually solves this, rather than trying to force one camera to do too much.
Indoor vs Outdoor Camera Placement Strategy
Indoor and outdoor cameras solve different problems, and treating them the same is a common mistake.
Outdoor placement priorities:
- Entry points (covered above)
- Driveways and parking areas
- Any detached structures like a storeroom or servant quarter
Indoor placement priorities:
- Main hallway or staircase, since it captures movement toward multiple rooms at once
- Near valuables — safes, jewelry storage, home offices with electronics [link to related guide on home safe installation here]
- Living room or main entry-adjacent space, useful for verifying who’s actually at the door
One thing worth mentioning: indoor cameras raise privacy questions that outdoor ones don’t, especially in shared households. I’d steer clear of placing them in bedrooms or bathrooms, obviously, but also think twice about common areas where household help or family members might feel constantly watched. It’s a security decision, but it’s a relationship one too.
Weatherproofing and Lighting Considerations for Outdoor Cameras
Outdoor cameras face conditions indoor ones never deal with — heat, dust, monsoon rain, and in Rajasthan specifically, some genuinely intense summer sun that can affect certain sensors over time.
Look for an IP66 rating at minimum for outdoor units — this indicates real dust and water resistance, not just a marketing claim. Cheaper unrated cameras tend to fail within a year or two in dusty, high-heat conditions.
Lighting matters just as much as the camera itself:
- Cameras with infrared night vision typically cover 10-15 meters in complete darkness, though quality varies quite a bit between brands
- Avoid pointing cameras directly at bright lights (streetlamps, motion-sensor floodlights) — this can wash out the image and actually reduce visibility of the area you care about
- Motion-activated lighting paired with cameras improves footage quality significantly at night, and doubles as a deterrent on its own
Network and Storage Placement Considerations
This part gets ignored constantly, but camera placement isn’t just physical — it’s also about signal strength if you’re running Wi-Fi cameras.
A camera mounted at the far end of a large compound, 30+ meters from your router, might show a great picture on install day and then start dropping frames within a month as the connection weakens. Wired PoE (Power over Ethernet) cameras solve this but need planning during installation, not after.
Quick considerations:
- Test Wi-Fi signal strength at the exact mounting spot before finalizing placement, not just somewhere nearby
- For distant cameras, a Wi-Fi extender or PoE cable run is usually worth the extra cost
- Local storage (SD card or NVR) versus cloud storage affects reliability during internet outages — local storage keeps recording even when the connection drops
Common Placement Mistakes to Avoid
A handful of patterns show up again and again, across pretty much every installation I’ve seen:
- Cameras pointed at the sky or an open field instead of an actual pathway — a shockingly common rookie error
- Mounting height too low, making the camera an easy target for tampering or theft
- Ignoring backlighting — a camera facing directly into morning or evening sun will produce a washed-out, useless silhouette
- Ignoring the “public view” laws — cameras that capture a neighbor’s private space or a public street beyond your property line can create legal complications in some areas
- Ignoring dead zones directly under wide-angle cameras, assuming full coverage when there isn’t any
None of these mistakes require expensive fixes. Most just need a second look with fresh eyes, or genuinely, a five-minute walk around the property before finalizing anything.
Frequently Asked Questions
How many security cameras do I need for a typical Indian home? For a standalone house, 4-6 cameras usually covers the essentials — main gate, front door, back entrance, and one or two blind-spot areas. Apartments generally need fewer, often just 1-2 covering the main entry.
What’s the best height to install a security camera? 8-10 feet works well for entry points, balancing tamper resistance with facial clarity. Wider area cameras covering driveways or compound walls can go higher, around 10-12 feet.
Should security cameras be visible or hidden? A mix works best. Visible cameras act as a deterrent on their own, while a hidden secondary camera can capture footage even if someone tries to disable or avoid the visible ones.
Do I need professional installation for security cameras? Basic Wi-Fi cameras are often DIY-friendly. Wired systems, PoE setups, or anything requiring drilling into brick or running cables through walls usually benefit from professional installation to avoid signal or power issues later.
How far can a security camera see at night? Most consumer-grade cameras with infrared night vision cover 10-15 meters clearly in full darkness. Higher-end models can reach 20-30 meters, but image quality often drops toward the outer range.
Is it legal to install a security camera facing a public street or neighbor’s property? This varies by location, but generally cameras shouldn’t primarily capture a neighbor’s private area or excessive public space beyond your property line. Angling cameras to focus mainly on your own property avoids most disputes.
Conclusion
Good security camera placement comes down to thinking like someone trying to get into your property, not just picking spots that look convenient. Entry points first, blind spots second, then worry about height, lighting, and network reliability once the basics are covered. A well-placed budget camera will always beat an expensive one pointed at the wrong corner.
Before buying anything new, walk your property once with this list in hand and note where the actual gaps are — chances are, you’ll spot at least one blind spot you hadn’t considered. [link to home security systems comparison guide here]